Teacher's Guide: Images!
Overview
This lesson shows students how to add images to sprites using the wear function. Additionally, it introduces the slide and mirror functions. slide is an indispensible alternative for moving sprites about the screen in a manner that is consistent with their orientation. mirror reflects images about their primary axis to give the appearance of an image facing the opposite direction.
More about the lesson
Image files
The lesson begins with examples of the Pencil Code image-search feature because it provides a very low floor for getting started with image-sprites. Additionally, the t- syntax highlights the goal of seeking images with transparent backgrounds. The drawback to Pencil Code's automated image search is that it does not consistently provide satisfactory results. Students will have more fun working with images if they can use images they identify on their own. This involves more work, but the payoff is well worth the effort.
To load a file stored on the web in Pencil Code programs, point to the URL (Uniform Resource Locator, i.e., the "web address") of that image. Because URLs of image files on the web are often quite long, it's advisable to record them as variables, and reference these in subsequent function calls, as illustrated below. This enhances script readibility:
 dogURL = "https://pngimages.com/images/high/cute-dogs-png-bkv41-qzmn9oik8y4u2gij.webp"

 wear dogURL, 200
A prerequisite for successfully referencing image files via a URL is that the referenced file must be an actual image file. The names of such files will typically end with an image file extension, such as .png, .jpg or .webp. A notable exception to this rule are URLs for files from Google Photos, which consist of a mostly cryptic gobbledygook of letters and characters which does not reveal the file type.
Students will likely be tempted to identify images using a standard web search, but that should be discouraged, as it is unlikely to yield fruitful results. Owing to the proliferation of websites designed to sell images, the top hits on web searches for images will often point to inaccessible images. Either the image URL will be masked, or the URL shown will not actually point directly to a file, but rather will trigger the host server to perform some other action, such as return a whole web page containing the image rather than the image file itself.
There is, moreover, an even bigger obstacle to identifying usable images. Efforts to access image files directly from most third-party websites via the wear function are often complicated (if not completely thwarted) by a web browser security feature known as the Same-Origin Policy. This default security rule blocks cross-domain requests, i.e., attempts to load resources such as images that are stored on a separate web server than the one delivering the content to the end user—exactly what we attempt to do when loading an image from a third-party website!
Pencil Code tries to work around the default Same-Origin Policy by implementing a more relaxed Cross-Origin Resource Sharing (CORS) policy. However, for Pencil Code's settings to work, the server the images are pulled from must have compatible CORS policies. Most web searches for images will lead to sites that have incompatible CORS policies, so there's little point to going that route.
The easiest option for beginners is to reference files posted on CORS-compatible image sharing services. There aren't many, but thankfully these should suffice for this lesson. The few that have worked best in recent years include pngimages.com, openclipart.org, and commons.wikimedia.org. Students can simply navigate to these sites and search for the images they want.
Wikimedia Commons is by far the largest of the aformentioned CORS-compatible image repositories. In fact, it is the same repository that Pencil Code draws from when searching for images. However, the search tools on the Wikimedia Commons website are rudimentary and frequently yield disappointing results.
Fortunately, it is possible to search for images on Wikimedia (or any other specific site) using the more robust Google Images search engine. Begin by navigating to images.google.com and enter your desired search term, followed by site:commons.wikimedia.org, e.g.,
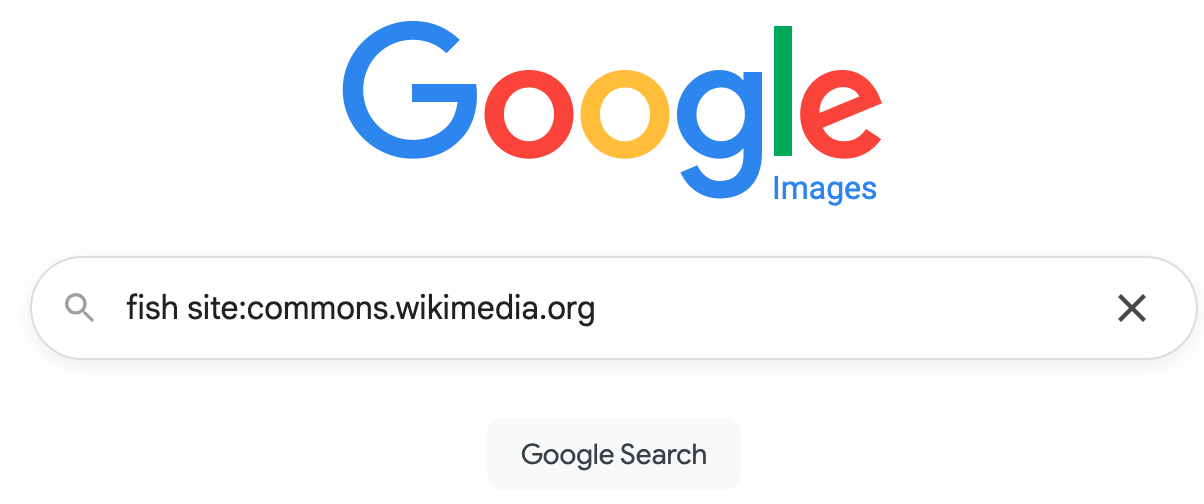
After the search is completed, you can subsequently narrow the results using options under the tools dropdown menu. Of particular importance is the color option: select transparent to limit the search to images with a transparent background.
slide
The slide function is introduced in this lesson as an indispensible tool for moving image sprites around the screen in a manner that agrees with their natural orientation. slide also implicitly allows students to draw based on relative coordinates (the focus of a subsequent lesson) which facilitates various drawing tasks, such as constructing triangular shapes of any proportion without using trigonometry.
mirror
The mirror function accepts Boolean values true and false as well as their CoffeeScript aliases, yes/no and on/off. Note that mirror does not appear as a coding block, so it must be typed in.
The fact that mirror takes a Boolean value as its argument provides an opportunity to introduce the Boolean data type. There is no need to give a thorough introduction now, however, as Boolean values and logic will be explored in detail later, in Conditional Logic! and subsequent lessons.
Editing images
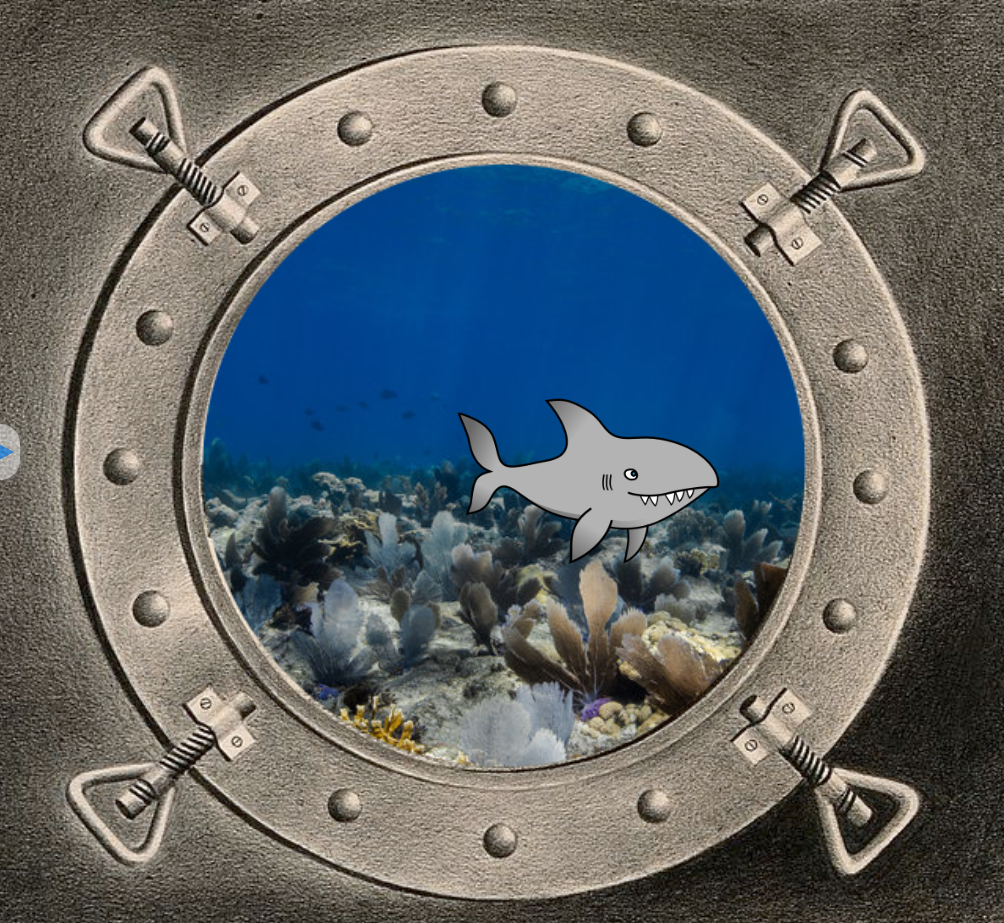
Sprites that have images added to them using wear can be drawn on, just like any other custom sprite, using the drawon function. For example, this alternative solution to the SharkTank activity uses images not only for the background seascape but also for the tank, with a porthole cut into it with dot erase, following the same approach as with a custom sprite.
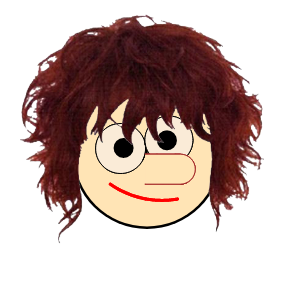
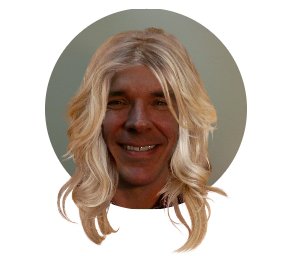
The ability to edit images is also useful for removing excess material from around the edges of an image (i.e., to crop the image), as done in this alternative variant of the illustration of Hairdos. The trick is to fill with color erase after tracing out the region(s) to be cropped.
Notes to activities
Likely the most challenging aspect to these activities is locating images that can be successfully loaded into Pencil Code. In fact, even when students identify an image URL with an appropriate extension (.png, .jpg, etc.), the image may fail to load, owing to CORS-related conflicts, as discussed above. There is no avoiding some trial and error, though teachers can help by keeping an eye out for coding errors (e.g., failing to wrap the URL in quotes) that can easily compound difficulties at this stage.
Additional activities
Create an OceanCritter (or find a relevant image) which slides back and forth randomly on the ocean floor, using
mirrorto ensure that it faces in the appropriate direction as it moves. Also include simple waves, which should move (i.e., slide) back and forth as well.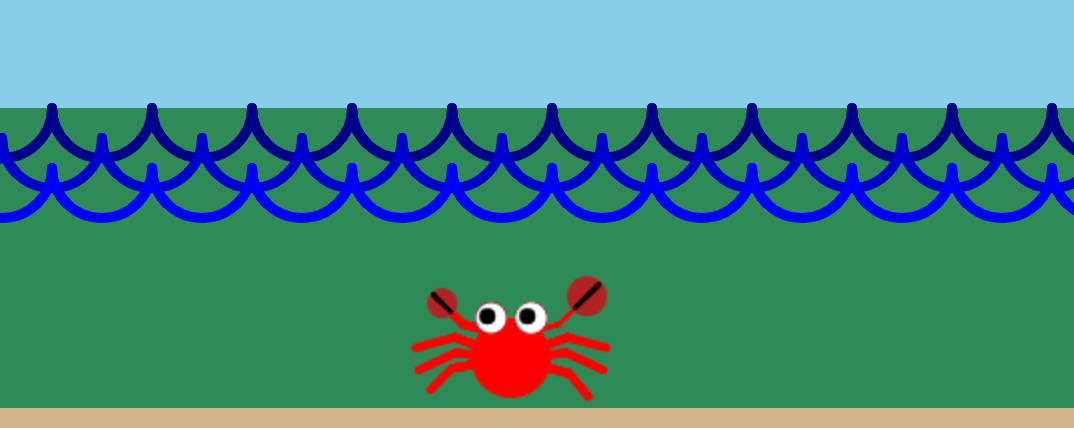
Use
slideto draw a parallelogram centered the turtle's current location, based on the lengths of the parallelogram's diagonals (i.e., the center of the parallelogram is at the intersection of the diagonals, which is also their midpoints). Then use this code in a for loop to construct a SlideStar. With creative use of a nested for loop, you can create a FeatheredStar variation.


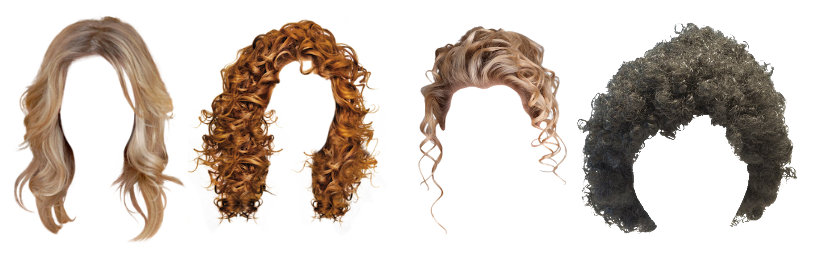
Find images of hair without a face and add it to a sprite. Size and position the hair on top of a drawing or an image of a person or some other creature. Save your script as Hairdos.
A rich source for hair/wig files image files is pngall.com. However, in recent years that website has become more difficult to use with Pencil Code. It's CORS policy prevents direct access of the files using the wear function with URLs, and the site increasingly includes pop-ups and other annoyances. Students can work around these challenges by downloading image files to their PC, uploading to Google Photos, and referencing from there. However, to make this task easier, copies of select image files from pngall have been saved to this shared Google Photos album.
ImagesInitials: Create a large custom sprite that covers the whole screen and use
pen eraseas you write your initials (or draw some other design of your choice). Load an image that you want shown behind your initials.Note, to make this work, you need to get the order of execution right: you need to create the image sprite first, or else it will end up on top.
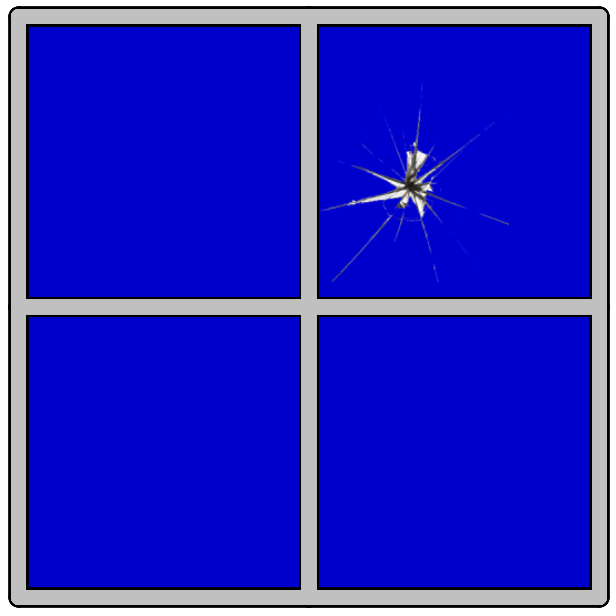
BrokenScreen: Find a transparent image of broken glass. Incorporate this into a program that simulates a window breaking, or perhaps some other piece of sheet glass—such as your computer screen!
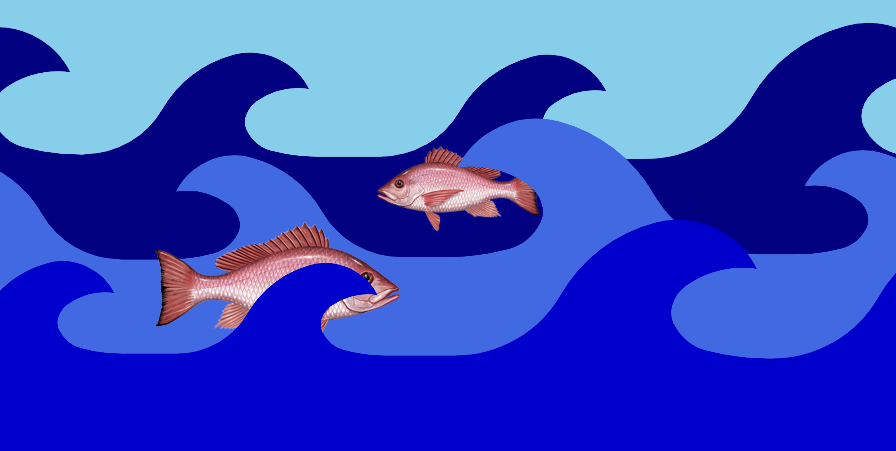
Explore the order of adding sprites with a Waves program. Have multiple layers of waves, each moving back and forth, with fish behind, between, and in front of various layers.
-
RecycledSprite: The notes to the Custom Sprites! lesson describe how to save an image of a custom sprite. If you haven't done so already, modify the script for one of your previous sprites to save a png image of it. Then, create a new program which loads multiple copies of that image, setting each to a different size and moving them in an interesting way.

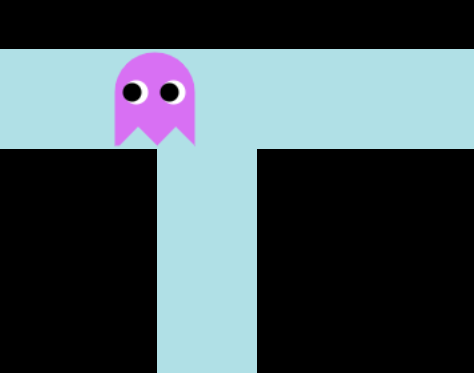
- PacManPreliminaries: use the images created for the GhostSprites activity (one of the additional activities to the Custom Sprites! lesson), to model motion for ghosts that can be used for a knockoff of the classic arcade game. Coordinate the movements of the sprites so that collectively they appear to be one sprite moving, with its eyes always pointed in the direction of motion. To emulate the movement of ghosts from the original game, you'll likely need to use a combination of
hide,show,slide, andsync.
Beyond the lesson
Alternatives to wear
Images can be added to Pencil Code programs using a variety of methods. One simple alternative to the wear function is to pass the image URL directly to the Sprite constructor as an argument. While straightforward, this approach does not allow the user to specify how large to render the image onscreen. As a result, the resulting image-sprite's size will depend on the dimensions of the underlying image, in pixels.
Another relatively simple-to-use alternative to wear is the Pencil Code img function (listed under Art in the coding blocks palette). Like wear, img accepts a second, integer argument that specifies the height (in pixels) of the rendered image. img has the advantage of not being affected by Same-Origin Policy restrictions, so it facilitates adding a broader range of publicly available images to a Pencil Code program. Despite these advantages, this curriculum favors the use of wear to img, both for pedagogical reasons and for technical reasons relating to how Pencil Code web pages are structured. More details about the img function are presented in the Technicalities section of this document.
Accessing images from a shared Google Photos album
Rather than point to an image that is already on the web, it is also possible to upload images to the web to a server that has compatible CORS settings. Given the ubiquity of Google these days, storing image files in a public album in Google Photos is likely the easiest option. Alternatively, use an image sharing site such as Imgur.com. (It is also possible to upload images directly to the Pencil Code server, though this is not recommended. See the Technicalities section of this document for details.)
Hosting image files for Pencil Code scripts on Google Photos has several advantages. Students will have a broader choice of images, as they can make copies of virtually any image they see, either by right-clicking an image and selecting "Save as" or even by simply taking a screenshot. Students also have the option of uploading images of their own. Either way, so long as the student controls the Google account, the URLs in their scripts that point to these images can remain valid as long as they want. In contrast, when making use of images hosted on other third-party sites, you never know when that image might be moved or removed and thereby cause your program to subsequently fail.
Accessing a Google Photos image involves the following steps:
- navigate to the shared Google Photos album,
- select the desired image by clicking on it (which causes the image to appear on a page by itself), and then
- right-click on it and select copy image address to get the URL.
- Copy this URL into your script and you should be good to go.
This process is outlined in this script, which loads the following images:
Importing images saved on the Pencil Code server
The notes to the Custom Sprites! lesson describe how to use the saveimg function to save a PNG image of a custom sprite. These image files can be imported in other programs in the same Pencil Code account much like any other image file. Note the caveat: images saved under one Pencil Code user ID cannot be accessed by programs saved under other user IDs.
Accessing an image on the Pencil Code server is illustrated in this script, which reads in an image saved as DiamondStar.png:
The fact that the image file is on the same server as the script permits use of a relative URL rather than the full-length, absolute URL of the file, which also includes the website's domain name and the path to the file. For example, consider the file referenced in the example above,
https://hacker.pencilcode.net/home/09-CustomSprites/DiamondStar.png
As the term suggests, a relative URL is specified relative to the location of the current script. In the simplest case, when the image file and the script are in the same folder, there is no need to specify a path at all: wear "DiamondStar.png" would suffice; equivalently, one might specify wear "./DiamondStar.png".
In the example script, however, the image is stored in a neighboring folder in the user's account on the Pencil Code server. The relative URL can be specified using the .. token, which indicates the parent folder. The URL "../../09-CustomSprites/DiamondStar.png" instructs the brower to go up two folder levels, where it should find a 09-CustomSprites folder, which is where the sought-after file, DiamondStar.png, resides.
The use of relative path names is optional; one can continue make use of absolute addresses to access images stored on the Pencil Code server. However, when doing so with images on the Pencil Coder server, the path of the image seen in the Pencil Code account must be modified slightly, replacing the term edit with home.
Delays in loading images
Depending on the size of the image file and various network considerations, the process of loading images can cause notable delays in programs, detracting from the user experience The program will look glitchy at first, as a turtle or a translucent square sprite appears temporarily until the image fully loads and is rendered. A simple but effective remedy is to begin with a transparent sprite. That way, nothing appears until the image loads. Alternatively, one can choose to hide the sprite prior to the call to wear, and make it visible again at some later point.
Image orientation
In addition to mirror, two other functions can affect the orientation of an image shown on a sprite. (This applies both to images as well as custom-drawn sprites.)
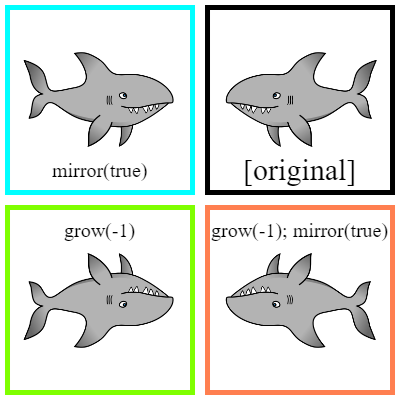
grow: Negative arguments to grow cause the image of the sprite to rotate 180°. (Equivalently, this can be described as a reflection about the central point of the sprite.) Combined with calls to mirror, this gives the user the ability to orient an image four ways, as illustrated in this program:
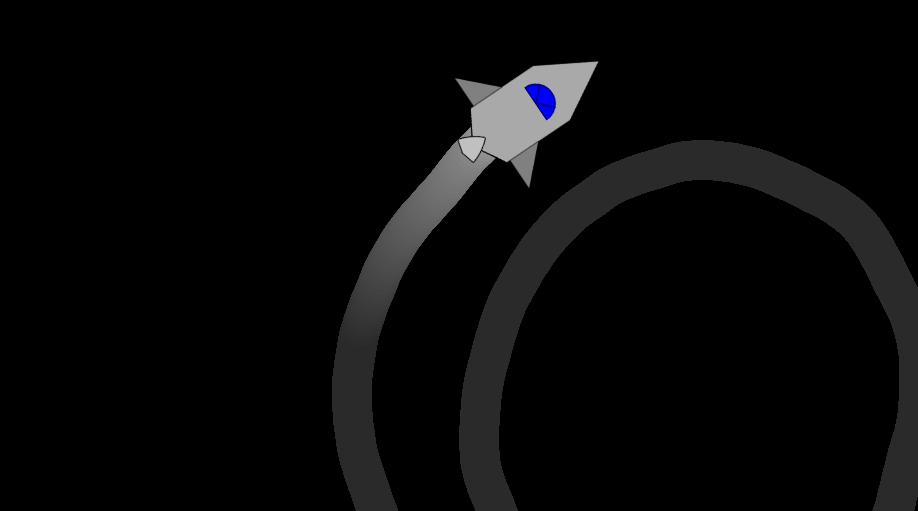
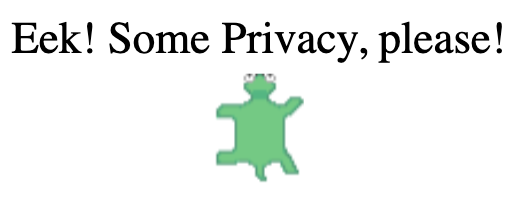
twist: Imported images at times will be oriented in a way that complicates use of movement functions fd, bk, and even slide. For example, when you instruct the image to move forward, it moves up, which may not agree with the orientation of the picture. For images that are "off" by multiples of 90 degrees, the use of slide is a simple solution. However, for images that are rotated by other amounts, even that work-around falls short.
The twist function changes a sprite's orientation by rotating it with respect to its main axis. Note that when it does this, it is the image itself that rotates. The axis itself stays put (facing north if the sprite has never been moved). Subsequent calls to movement functions, such as fd, will continue to function based on this orientation. This is illustrated below, for the image of a frog:

Additional effects of home
In addition to returning a sprite to its original starting position and orientation, calls to home also reset its size and orientation, counteracting the effects of calls to grow, scale, mirror, and twist.
Stack order of Sprites
In the lesson, it is noted that the order of sprite creation determines which is front or in back. This is not the full story. The CSS z-index property controls the stack order of an element. An element with greater stack order is always in front of an element with a lower stack order. The following code puts an image of a frog on top of the default turtle, which, by default, is always on top:
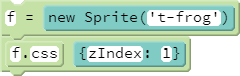
As the snippet above illustrates, accessing the z-index property requires familiarity with JavaScript objects, as well as CSS-property usage in Pencil Code, both of which are still several lessons away. The requisite background on these topics will be provided in the Custom(ized) Objects! and Format Labels! lessons, respectively.
Pedagogy
Conventions
A convention is the way something is usually done within a particular activity. They are not as strong or rigid as rules, but they are nonetheless useful. In coding, we come across many conventions. A convention we encountered earlier on involves variables. Variable names typically begin with lower case letters and continue with camel case. However, if they are describing a constructor, they begin with upper case letters, and for variables that won't change values—constants—the convention is to use all upper-case letters, with words separated by underscores. These conventions are valuable because they make it easier to read and interpret code, and help us write code that others will likewise find readable.
In this lesson we encouner another convention, relating to the arguments in the slide function: the x (horizontal) value is stated before the y (vertical) value. This convention arguably comes from math. In any event, we will see it again and again as we learn additional functions in future lessons. Moreover, we previously saw a similar, related convention in the Sprite constructor, in which width was listed before height. For example, new Sprite("100x50") produced a sprite twice as wide as it is tall. Use of conventions in this case make it easier to write code, because it is easier to remember the order in which to list arguments. Later on, when writing our own functions and constructors, we will want to be sure to adhere to these conventions as well.
Technicalities
The img function
The Pencil Code img function provides another alternative to the wear function to add images to a document. Like wear, img let the user rely on Pencil Code's built-in search feature, and it also enables the coder to create and size an image-sprite in a single step. Whereas wear adds an image to an existing sprite, the img function creates a new page element, similar to how the Sprite constructor works; thus it is common to assign calls to img to a variable, for subsequent reference. For example,
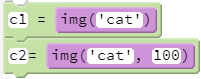
Superficially, the primary difference between adding images using img instead of creating a sprite with a constructor and adding the image with wear is that the former approach creates a new page element in the top-left corner of the page (with subsequent images being added next to or beneath the first). The object returned by the call to img has all of the movement and drawing functions (fd, rt, pen, etc.), and thus is seemingly interchangeable with any other sprite. Moreover, as noted above, the img function has the advantage of not being affected by the Same Origin Policy, so that it can be used to reference image files on any server anywhere on the web, directly.
Under the hood, however, there are significant differences between the "sprite-like" objects instantiated by img and actual sprites, including those with images added through use of wear. The impact on sprite behavior is subtle and nuanced, in ways which a student is unlikely to appreciate at this point of the curriculum. However, the differences may soon become an issue, because they can lead to somewhat baffling inconsistencies in behavior which can become a major source of frustration when writing more advanced scripts.
Key differences:
imgcreates a different of type of page element than that used for sprites (i.e., objects created with calls to theSpriteorTurtleconstructor). Behind the scenes,wearadds the image to an existing sprite's HTML <canvas> element. It is for this reason that we can subsequently modify the image using Pencil Code drawing features, which also interact with <canvas>. Theimgfunction, in contrast, adds the image to the screen using an HTML <image> element, which cannot be subsequently modified using Pencil Code drawing functions.imgdiffers from sprite constructors with respect to where it adds elements to the HTML page.imgappends the new page element to the HTML document <body>, according to HTML Normal Flow Layout. Contrast this with sprite constructors, which nest the new page element with those of other sprites as a child of an existing hierarchy of container elements. (See the Notes to the Web Pages 101! lesson, in particular the figure at the end of the document.) This difference accounts for why the rendered images from calls toimgappear at the top of the page, rather than at center screen, where sprite constructors position new page elements. Additionally, these structural differences affect attempts to change the visible stack order of sprites using the CSSzIndexproperty, aszIndexonly works relative to other positioned elements within a given HTML container.- Page elements added with
imglack the HTML class attribute of turtle, which Pencil Code uses to identify sprites. This attribute is necessary for the desired functioning of calls to thedonefunction (which students will use as part of the statementawait done defer(), beginning in the Array Destructuring! lesson).
Admittedly, it is possible for the informed coder to work around each of these issues. For example, the missing turtle class attribute can be added to the sprite-like object with a simple call to the addClass method (see the Label Recycling! lesson). However, in each case, the difference between the sprite-like objects and sprites are subtle and nuanced—noted only in this discussion, buried deep in the Technicalities section of the Teacher's notes!—and likely to be overlooked. Yet failing to understand or address the differences can lead to confusing and hard-to-debug sprite behaviors in more complicated Pencil Code scripts.
Animated gifs
One thing the img function can do that the other approaches cannot is accomodate animated gifs. An example is provided here:
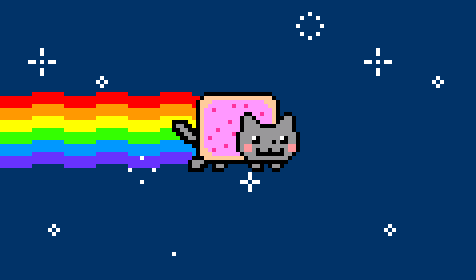
Sprites with images drawn on <canvas> elements cannot be animated, because it is a static drawing. The only way to make it animated would be to write code that constantly redraws new images.
The background-image attribute
Another way images can be added to sprites is via the background-image attribute, a feature of the <canvas> element. In fact, this is how a Pencil Code Turtle's body (i.e., with the moving arms) is rendered. As with images added to a HTML document using <image>, images added to <canvas> elements via the background-image attribute cannot be manipulated. However, each Turtle's shell is drawn on the <canvas>, and thus you can draw on using the draw function, as the following script illustrates:
Base-64 data-URI
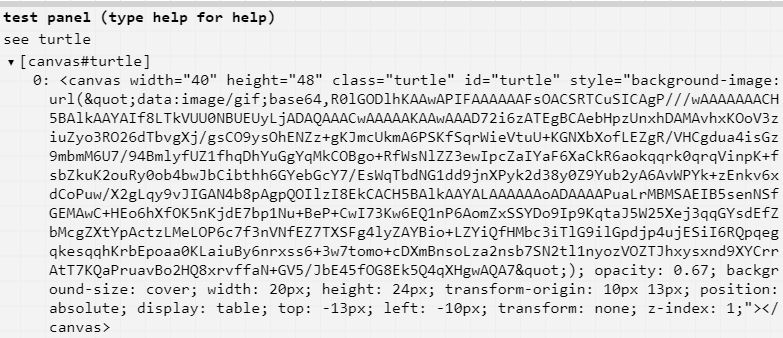
Yet another approach for including images in Pencil Code programs is to use the data URI (uniform resource identifier) scheme. Data-URI provides a way to include data in-line in web pages as if they were external resources. An example of a data URI in use is the Pencil Code turtle sprite. It's data URI can be found through inspection of the turtle in the test panel (click on the image for a script that obtains this data programmatically):
Use of the data-URI scheme is explored in several files in this Pencil Code folder. The notes in these files provide links to resources to generate data URIs from image files, as well as instructions for using data URIs in scripts to create sprites.
One drawback to data URIs is they cannot be used with wear, at least not directly; attempts to do so will clear the sprite's canvas, making it invisible. One workaround is to first create an <image> element using img, then pass the reference to this object to wear, as illustrated at the bottom of this script. Alternatively, data URI coes can be used to add an image to an existing sprite by specifying its CSS background-image style property (CSS properties will be explored in the Format Labels! lesson.) However, the drawing features in Pencil Code require the image to be drawn to a <canvas> element, rather than specifying the background-image, so this approach is not without its own limitations.
Uploading Images: FileReader
Files can be uploaded from a user's computer to the Pencil Code server using the JavaScript FileReader object. Use of this feature involves many advanced concepts, including functions, callbacks, asynchronicity, and events. FileReader is therefore introduced much later in the curriculum, first in the Notes to the I/O! lesson and in greater depth in subsequent lessons.
Uploading images to the Pencil Code server
While it is possible to upload images directly to the Pencil Code server, doing so is a less attractive option than relying on a repository such as Google Photots. The main reason is that storage space on the Pencil Code server is limited, and better allocated to saving scripts than image files. While it would be OK to store a few images on the server, the Pencil Code terms of use prohibit uploading picture in bulk. The site also enforaces a file size limitation of less than one megabyte, likely complicating efforts to upload images. Finally, the task of uploading images requires the use of advanced coding features, such as callbacks, the focus of a much later lesson. For all of these reasons, this lesson does not introduce this option.